How to Clean Good Makeup Brushes
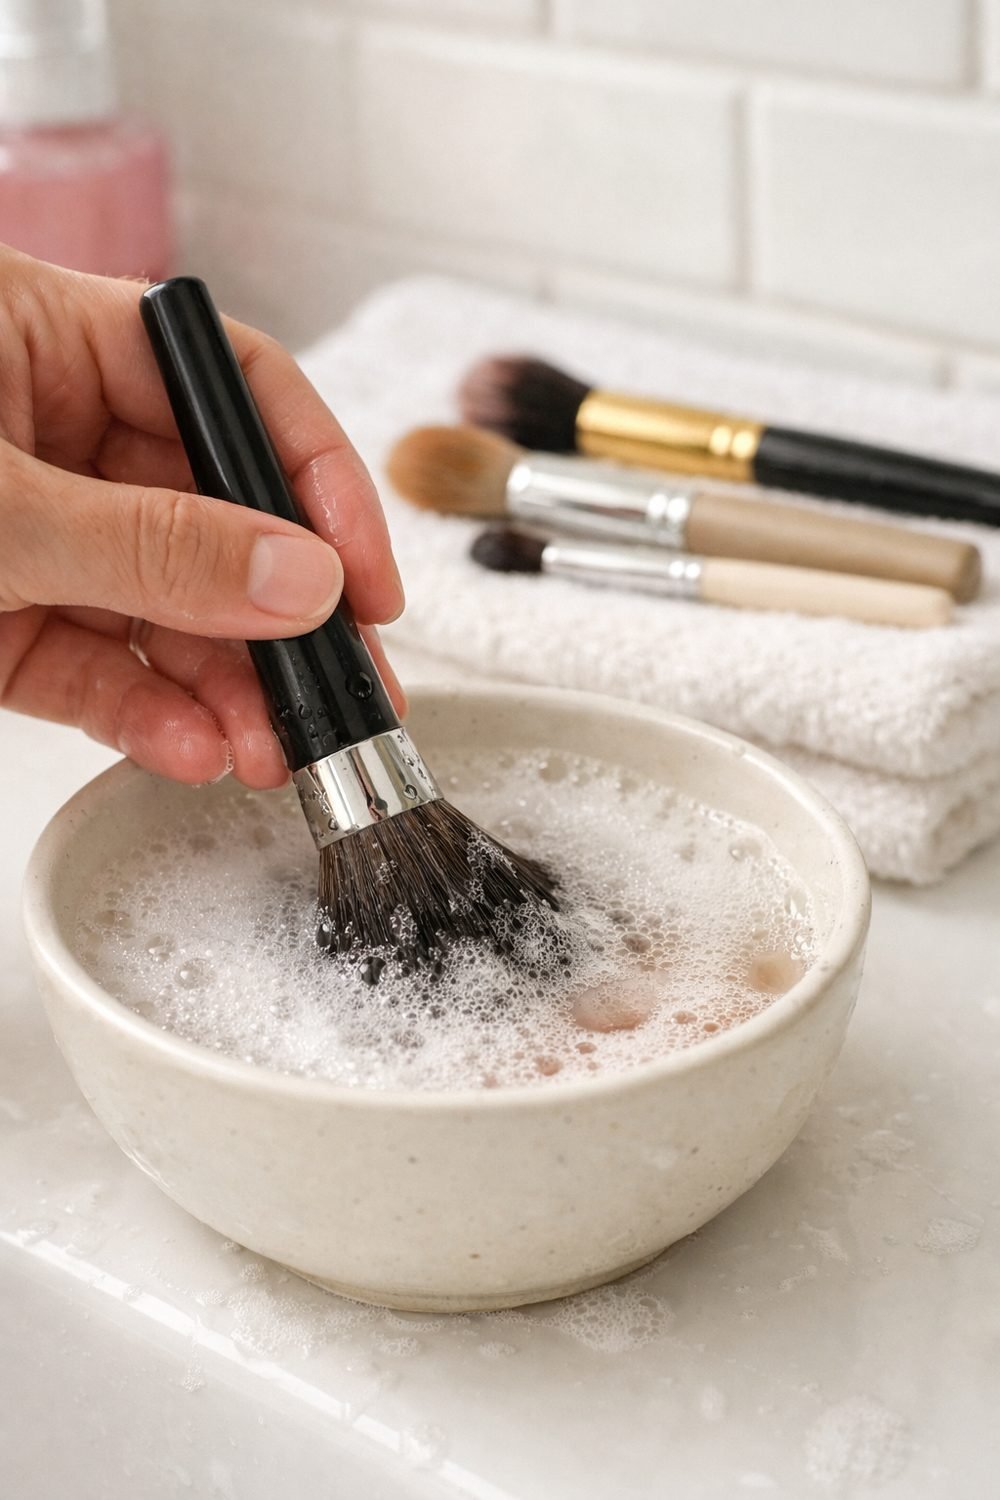
Good makeup brushes deserve a proper cleaning routine. Washing them the right way keeps the bristles in shape and helps them last. This guide walks through each step, from checking the maker's advice and wetting only the bristles to rinsing, reshaping and drying them correctly.
Many people clean their makeup brushes only a couple of times a year, usually after a foundation brush goes stiff and crunchy, but even the best brush set needs more regular washing. It's not a great system. Washing brushes on a regular schedule helps makeup go on smoother and keeps brushes from looking tired so fast.
The good news is that this isn't hard. You don't need fancy gadgets or a special spray. You need warm water, a gentle cleanser, a towel, and about twenty minutes. Here's how I do it, step by step, plus what to try when something goes wrong.
Short on time? Our top picks: Cinema Secrets Professional Brush Cleaner, Parian Spirit Brush Cleanser, Dr. Bronner's Pure-Castile Liquid Soap and Johnson's Baby Shampoo. See all picks
What you need to clean good makeup brushes
- Your dirty brushes, from professional makeup brushes to drugstore ones (and sponges, if you use them)
- A gentle cleanser, like a mild shampoo, a gentle face wash, or a cleanser sold for brushes
- Warm water (not hot)
- A clean towel, or a few paper towels
- A small bowl or your palm (a textured silicone mat is nice but optional)
- A flat spot to dry the brushes, like the edge of a counter
That's it. Little electric brush spinners are available, but you can skip them unless you have a huge collection. Your hand works fine.
Step 1: Check the maker's advice first
Before you get anything wet, take a quick look at the care notes for your brushes. Some come with a little card in the box. Others have instructions on the brand's website or the product page where you bought them.
Why bother? Because not every brush is the same, whether you own MAC makeup brushes or a budget set. Natural hair brushes can be more delicate than synthetic ones. Some brushes have wooden handles that don't love water. A few specialty tools, like certain sponges or brushes with glued-on decorations, might need a different approach. If the maker says "spot clean only" or "avoid soaking," listen to them. They know how the brush was put together.
Tip: If you can't find any instructions, treat the brush gently. Use lukewarm water, a mild cleanser, and keep the water away from the handle. That's a safe starting point for most brushes.
Step 2: Wet only the bristles
Turn on the tap so it runs warm, not hot. Hold the brush with the bristles pointing down and run just the tips under the water. Keep the bristles angled downward the whole time.
This sounds fussy, but it matters. The part where the bristles meet the handle is called the ferrule (usually the shiny metal bit). Glue inside the ferrule holds the bristles in place. If water keeps running up into it, the glue can loosen over time. That's how you end up with a brush that sheds like a cat in spring.
Tip: Never stand your wet brushes upright in a cup of water to "soak." I did this once with a set of eye makeup brushes, and two of them started dropping hairs within a month.
Step 3: Use a gentle cleanser on your makeup brushes
Put a small drop of your cleanser in your palm or in a little bowl. You really don't need much. A pea-sized amount is enough for a few brushes.
Swirl the damp bristles in the cleanser using small circles. You'll see the makeup start to come out, often in a surprisingly gross cloud of beige or brown. That's normal. Foundation and concealer brushes usually look the worst because cream and liquid products cling to the hairs.
A mild shampoo, such as Johnson's Baby Shampoo, is my go-to because it's easy to find and gentle. Some people like a gentle dish soap such as Dawn Dish Soap for brushes with lots of liquid foundation buildup, and a cleansing balm such as All Clean balm is another option, since both cut through oily product. If you try that, rinse extra well, and check the brush maker's notes first, since some brands suggest avoiding harsher soaps.
Tip: If you have sensitive skin, think about what's left on your brushes after washing. A cleanser you already know your skin tolerates, like a Clean and Clear face wash, is a smart pick. If you're not sure what's safe for your skin, ask a pharmacist or your skin doctor.
Step 4: Rinse until the water runs clear
Now rinse the bristles under warm water, still pointing them down. Gently squeeze the bristles between your fingers as you go. Keep rinsing until the water coming off the brush looks clear and there are no bubbles left.
Dense brushes, like kabuki or foundation brushes, can take a few rounds, and ELF makeup brushes are no different. A good routine is to wash, rinse, check, and then wash again if there's still color coming out. Fluffy powder brushes are quicker. Small eyeliner brushes are quickest of all.
Leftover soap is the thing that makes brushes feel stiff or sticky once they dry, so don't rush this part.
Tip: Press the brush into a clean towel between rinses. If you still see a color mark on the towel, there's more makeup inside. Give it one more swirl.
By the way, if you're also building a simple skincare routine to go with your makeup, our Free AM-PM Routine Chart for Skincare Beginners is yours when you join the email list.
Step 5: Squeeze out the water and reshape
Once the brush is clean, wrap the bristles in your towel and squeeze gently. Don't twist or wring it like a wet sock. Just press the water out.
Then reshape the bristles while they're still damp. Use your fingers to smooth them back into their original shape. A round powder brush should look round and fluffy. A flat foundation brush should be flat with a neat edge. An angled brush should have its angle back.
If you skip this, the brush will dry in whatever messy shape it's in. You'll get bristles sticking out sideways, and they can stay that way.
Tip: For brushes that keep splaying out, some people slip a small piece of mesh brush guard over the bristles while they dry. It isn't necessary for most brushes, but it can help a favorite brush that's started to lose its shape.
Step 6: Dry your makeup brushes flat or hanging, never upright
Lay your brushes on a towel near the edge of a counter, with the bristles hanging just over the edge. This lets air reach all sides. You can also dry them hanging with bristles pointing down if you have a brush drying rack.
What you shouldn't do is stand them upright in a cup while they're wet. Water drips straight down into the ferrule and sits there. That's the same glue problem from Step 2, plus it can lead to a musty smell over time.
Most brushes need several hours to dry. Thick, dense ones may need overnight. Washing brushes in the evening lets them be ready by the next morning.
Tip: Skip the hair dryer. Heat can damage bristles and loosen glue. It's tempting when you're in a hurry, but patience wins here.
Step 7: Clean on a schedule
This is the step I failed at for years. Washing brushes once a week is a common habit, and it's what a lot of makeup users aim for. Brushes you use with liquid or cream products, like foundation and concealer, tend to get dirty faster. Powder and eyeshadow brushes can often go a little longer.
That said, there's no magic number that works for everyone. It depends on how often you wear makeup, what kind of products you use, and what the brush maker suggests. If your skin is acting up, it might be worth asking a skin doctor whether cleaning your tools more often could help.
Pick one day and stick to it. Mine is Sunday evening, right after I do laundry. It's become one of those small chores I don't even think about anymore.
Tip: If you have a lot of products and brushes, it helps to write things down. The Product Inventory and Expiry Tracker, below this post, gives you a simple spot to note when you opened your makeup and when you last cleaned your tools.
Step 8: Replace worn tools
Even with good care, brushes don't last forever. Here are the signs I watch for:
- The brush keeps shedding hairs, even after it's dry
- The bristles are bent or frayed and won't reshape
- The handle is loose or wobbly where it meets the metal part
- There's a smell that doesn't go away after washing
- Makeup goes on patchy and streaky, no matter what you do
A shedding brush is the most common one. A hair or two now and then is no big deal. But if you're picking bristles off your face every time you use it, it's time to let it go.
Travel makeup brushes and a makeup brush case need a wipe too, but sponges are a different story. They wear out much faster than brushes. Once they tear, crumble, or stay stained after washing, I toss them.
Tip: Before you buy a new brush, think about whether you really use it. Many people have a drawer full of brushes bought for "someday" looks. Now I only replace the ones I reach for every week.
Troubleshooting
My brush is still stained after washing
Some staining is normal, especially on light-colored bristles used with dark eyeshadow or foundation. If the brush feels clean, rinses clear, and doesn't smell, a little color is fine. If it still feels greasy, try one more wash with a bit more cleanser, rubbing gently against your palm.
The bristles feel stiff or crunchy once dry
That's usually leftover soap. Re-wet the bristles and rinse them longer this time, squeezing gently until there are no bubbles at all. Using less cleanser next time can help too.
My brush is shedding after washing
A few hairs falling out during the first wash of a new brush can happen. Constant shedding often means water got into the ferrule and loosened the glue. Keep the bristles pointed down when washing and drying from now on. If it doesn't stop, the brush may be ready to replace.
My brush smells weird
A musty smell usually means the brush didn't dry fully, or it dried standing upright. Wash it again, rinse well, and dry it flat with the bristles over the edge of the counter. If the smell sticks around after a couple of tries, I'd replace it.
The bristles dried in a strange shape
Wet just the bristles again, reshape them carefully with your fingers, and let them dry flat. This fixes most shape problems. If the bristles are badly bent, they might not come back fully.
Cleaning picks worth a look
You can wash brushes with what's already in your bathroom, but a few well-known products make the job easier. Here are some that fit different needs.
Cinema Secrets Professional Brush Cleaner
This is a brush cleaner often used by makeup artists, so it suits people who wear a lot of liquid or cream product. Check the label for how to use it and whether it suits your brush type.
Parian Spirit Brush Cleanser
A brush-focused cleanser that suits people who like a product made for the job instead of using shampoo. Read the ingredient list and the maker's directions before using it on natural hair brushes.
Dr. Bronner's Pure-Castile Liquid Soap
A gentle-minded soap some people use for brushes and keep around for many other chores. It's quite concentrated, so check how much to dilute and rinse very well to avoid stiff bristles.
Johnson's Baby Shampoo
A familiar mild shampoo that suits anyone who wants to use something they already own. Check that you tolerate the scent and formula, and rinse until no bubbles remain.
Dawn Dish Soap
Suits brushes loaded with oily or liquid foundation buildup. Use only a tiny amount, rinse thoroughly, and check your brush maker's notes first since some brands advise against stronger soaps.
Sigma Beauty Brush Cleaning Mat
A textured silicone mat that suits people who wash several brushes at once and want something to rub them against. Check the size and whether it sticks to your sink or counter.
Beautyblender Blendercleanser
Made for sponges, so it suits anyone who uses a Beautyblender or similar sponge. Check the care directions for your specific sponge before using it.
Check current plans and prices on each brand's own site before you buy.
FAQ
Can I use regular shampoo on makeup brushes?
A mild shampoo is a good choice for most brushes. Just rinse well so there's no residue left behind. If your brushes came with care instructions, follow those first.
How long do brushes take to dry?
Thin brushes can dry in a few hours, while dense ones may need overnight. Drying time also depends on how humid your home is. Washing them in the evening is the easiest way to work around this.
Do I need a special cleaner for my best makeup brushes?
Not really. Brush cleaners can be handy, but a gentle cleanser you already own usually does the job. If you want to try a specific product, read the seller's page so you know what's in it and how to use it.
Should I clean sponges the same way?
The basic idea is similar: wet, cleanse (a sponge cleanser like Beautyblender Blendercleanser is one option), rinse, and squeeze. Sponges hold a lot more water, so they need extra squeezing and a good amount of time to dry. Check the maker's care notes, since some sponges have their own instructions.
Your next step
Pick a day this week and wash just your two most-used brushes. That's a small, easy start, and once you see how much better they feel, the rest gets easier. While you're at it, grab the Free AM-PM Routine Chart for Skincare Beginners by joining the email list. And if you like planning your looks or keeping track of what's in your makeup bag, have a look at the Makeup Look Planner and Product Checklist and the Product Inventory and Expiry Tracker below this post.
Printables and tools that can help
Makeup Look Planner and Product Checklist
A printable starter checklist, look planner and brush-cleaning...
See detailsProduct Inventory and Expiry Tracker
A printable tracker for skincare, makeup and hair products: date opened, replace-by date and...
See details