How to Organize a Makeup Vanity with Lights on a Budget

A makeup vanity with lights makes it easier to see what you are doing, but it can still get cluttered. This guide shows how to organize a makeup vanity with lights on a budget, using simple steps and things you may already have at home.
A tidy light up mirror vanity makes your routine easier, and so does a tidy plain one. It becomes obvious on a morning when five minutes disappear digging for one eyebrow pencil while the coffee goes cold. The pencil was under a pile of hotel shampoo bottles I'd never use. That was the day I finally sorted the whole thing out, and I didn't buy a single fancy organizer to do it.
You don't need matching acrylic drawers or a label maker. You need an hour, a few things from around the house, and a little honesty about what you actually use. Here's how I do it, step by step.
Short on time? Our top picks: IKEA Organizers, The Container Store Drawer Organizers, Muji Acrylic and Plastic Storage and Amazon Basics Storage Organizers. See all picks
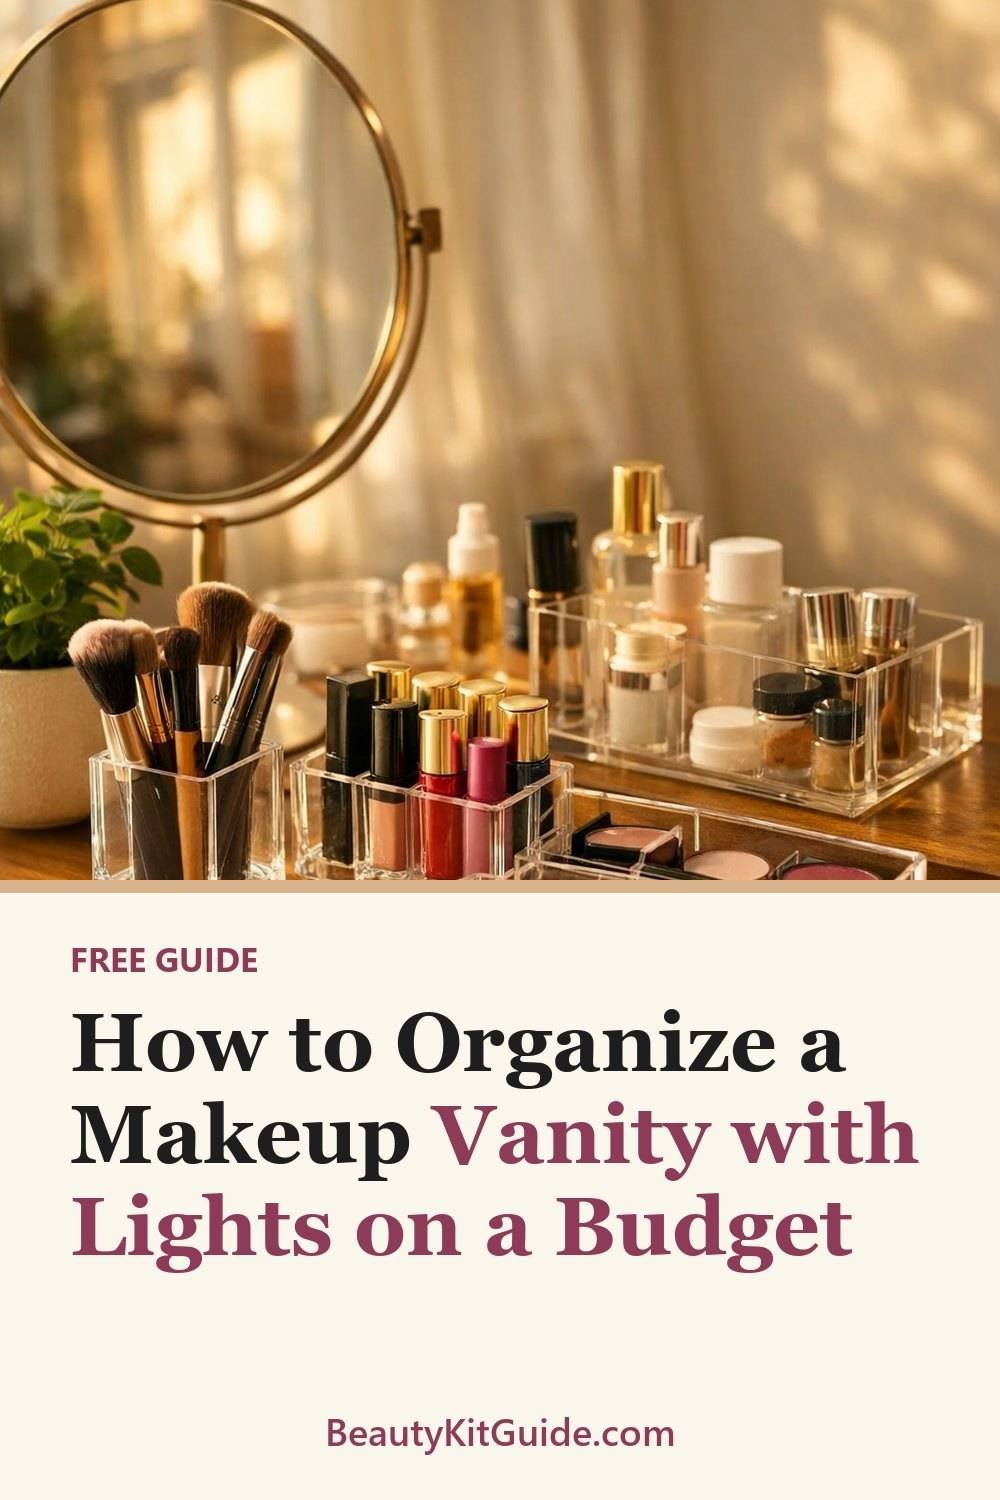
What You Need to Organize a Makeup Vanity with Lights
- A towel or old sheet to lay things on
- A damp cloth and some mild soap
- A trash bag (you'll fill more of it than you expect)
- Small jars, mugs, or glasses as a makeup brush holder and a home for pencils (or a simple tray from IKEA if you'd rather buy)
- Shallow trays, plates, or shoebox lids for grouping
- An empty box or bag for things you're unsure about
- Optional: masking tape and a marker for quick labels
That's it. If you have an old egg carton or a cutlery tray hiding in a kitchen drawer, grab that too. They're great for small things.
Step 1: Empty It All Out
Take everything off the vanity and out of the drawers. Yes, everything. Lay it all on your towel so you can see the full pile at once.
This part feels a bit chaotic. That's normal. The point is to start with a clean surface so you're not just shuffling clutter from one corner to another. Once it's empty, wipe down the counter and the inside of each drawer. You'd be surprised how much powder and dust collects in there.
Tip: Do this when you have a full hour free. If you stop halfway, you'll end up with a mess on your bed at 11 p.m. Ask me how I know.
Step 2: Sort Out What Goes
Before you organize anything, decide what stays. Go through the pile and pull out:
- Products that look, smell, or feel different from when you bought them
- Things you've tried once and didn't like
- Dried-up mascara and pens
- Free samples you've kept "just in case" for over a year
- Duplicates you'll never get through
For how long a product lasts once opened, check the packaging. Many have a small open-jar symbol with a number like "12M." If you're unsure, the brand's own page usually has care and storage notes. Don't guess on things that go near your eyes.
Anything you can't decide on goes into the "unsure" box. Put the box away somewhere and set a reminder for a month from now. If you didn't reach for it, you have your answer.
Tip: Be kind to yourself here. Everyone has a lipstick they bought because it looked great in the store light. Letting it go is fine.
Step 3: Group Like Items Together
Now sort what's left into groups. A simple routine works best:
- Skincare (cleanser, moisturizer, sunscreen, serums)
- Makeup (face, lips, and eye makeup brushes with the eyeshadows they go with)
- Tools (brushes, sponges, tweezers, sharpeners, and any grooming kits)
- Hair stuff (clips, ties, a brush)
Put each group on its own tray or plate. Seeing them side by side shows you right away where you have too much. For me it was lip products. It's easy to end up with eleven. Most people wear only two or so.
Some people go much finer, sorting eyeshadows by color or skincare by step. If that makes you happy, go for it. Personally, I think it's overrated for a small vanity. Broad groups are easier to keep up with.
Tip: If you're keeping track of a lot of products, a written list helps, whether in an app like Notion or on paper. The Product Inventory and Expiry Tracker below this post is made for that, but a notebook page works too.
Step 4: Use What You Already Have as a Vanity Organizer
Here's where the budget part really kicks in. Before you buy a single vanity organizer, walk around your house and look for containers.
Some things that have worked for me:
- Coffee mugs for brushes and pencils. A chipped mug you'd never drink from is perfect.
- Glass jars from jam or candles (cleaned out) for cotton pads and cotton swabs.
- Small plates or saucers as a base for daily skincare bottles. They catch drips, and you can lift the whole thing to wipe under it.
- Shoebox lids as drawer dividers.
- An ice cube tray for rings, hair ties, and bobby pins.
- A cutlery tray inside a wide drawer for makeup.
Mix and match. It doesn't need to look like a magazine photo. Mine has a striped mug next to a plain glass jar, and honestly, I like it more than a matching set.
If you do want to buy something, wait until after you've lived with the setup for a week or two. You'll know exactly what's missing, and you won't waste money on a three-tier spinning thing you don't need.
Tip: Clean any containers well before using them, and make sure they're fully dry. Damp jars and cotton pads don't mix.
Step 5: Keep Daily Items Within Reach
Think about what you use every single day. For most people that's a short list: cleanser, moisturizer, sunscreen, maybe a few makeup items and one brush.
Those go front and center. Right where your hand lands without thinking. Everything else, the party eyeshadow, the face mask you use on Sundays, the backup moisturizer, goes in a drawer, a basket, or a box on a higher shelf.
This one change made the biggest difference for me. A counter can go from crowded to almost empty, and mornings get noticeably calmer.
If you're still figuring out what a basic daily routine even looks like, you can grab our free AM-PM Routine Chart for Skincare Beginners by joining the email list.
Tip: Arrange daily skincare in the order you use it, left to right. You'll stop forgetting the sunscreen step.

Step 6: Add Simple Labels (If You Want)
This step is optional. If you share a bathroom or tend to toss things back in random spots, labels help. If you live alone and have a small setup, you might skip it.
Masking tape and a marker are all you need. Stick a strip on the front of a drawer or the side of a box: "Spare skincare," "Hair," "Travel." That's plenty.
Some people like to put a printed guide or a routine reminder on the wall nearby. The Skincare Studio Wall Poster Print Pack below this post is one option if you like that look. A sticky note on the mirror does the job too.
Tip: Label the back-up storage, not the daily stuff. You already know where your moisturizer is.
Step 7: Wipe Containers Regularly
Organized doesn't mean much if everything's coated in foundation smudges. Once a week or so, give the counter and your containers a quick wipe with a damp cloth.
For the products themselves, follow the care notes on the packaging or the seller's page. Some brushes and sponges need washing more often than others, and different materials need different care. Wash your brushes every week or two with mild soap and let them dry flat on a towel. Check what's right for yours.
Tip: Keep a small cloth in the vanity drawer. If it's right there, you'll actually use it.
Step 8: Review Once a Month
Here's the honest truth: the vanity will get messy again. That's not failure. It's just life.
Set a monthly reminder on your phone. Take ten minutes to put things back where they belong, check that nothing's past its open date, and open up that "unsure" box from Step 2. Anything you didn't miss can go.
The monthly check is also a good time to catch duplicate purchases. If I notice three almost-full cleansers, I know not to pick up another one next time I'm at the store.
Tip: Pair it with something you already do monthly, like changing your sheets. Habits stick better when they're stacked.
Troubleshooting
"I organized it and it's messy again after a week."
Usually this means something doesn't have a clear home, or the home is too hard to reach. Look at what keeps ending up on the counter. Give that item a spot right where you'd naturally set it down.
"I don't have enough space."
Go vertical, especially if your makeup vanity mirror sits on a small desk. A tall mug holds more brushes than a short tray. You can also move backup items out of the bathroom completely, into a box in a closet. Humidity from the shower isn't great for some products anyway, so check the storage notes.
"My containers keep tipping over."
Light jars tip easily when full of long brushes. Put a little dry rice or some small pebbles in the bottom for weight. Or switch to a heavier mug.
"I can't bring myself to throw things out."
That's what the "unsure" box is for. You don't have to decide today. Give it a month and let your actual habits decide for you.
"Someone else keeps using my stuff and moving it."
Separate trays or baskets help a lot here. Give each person their own clearly labeled zone. It ends a surprising number of arguments.
Budget-Friendly Organizer Picks Worth a Look
You really can organize a vanity with mugs and jars, but if you decide something is missing after a week or two, these are well-known options to consider. Buy only what fills a gap you've actually noticed.
IKEA Organizers
Suits anyone who wants simple trays, small boxes, and drawer dividers from one shop. Check your drawer measurements before you buy, since dividers only help if they fit.
The Container Store Drawer Organizers
A good fit if you have an odd-sized drawer and want modular pieces to mix and match. Measure first and look at how deep each piece is, so your tallest products still fit.
Muji Acrylic and Plastic Storage
Suits people who like a plain, clean look and stackable pieces. Check whether the style you pick has a lid or open top, depending on how dusty your space gets.
Amazon Basics Storage Organizers
Handy if you want basic trays and cosmetic holders without much fuss. Read the listed dimensions and materials carefully, as sizes vary a lot between items.
Target Brightroom Storage
Works well for people who want baskets and bins for backup products in a closet or under the sink. Look at whether the material wipes clean easily, since vanity spills happen.
Dollar Tree Bins and Trays
A fit if you want to test a setup cheaply before committing to anything nicer. Stock changes often, so check that the pieces feel sturdy enough for heavier items.
Notion for Product Lists
Suits readers who prefer a digital list of what they own and when they opened it. A free account may cover basic needs, so check what the current plan includes before relying on it.
Check current plans and prices on each brand's own site before you buy.
FAQ
How long does it take to organize a vanity?
For most small vanities, about an hour. If you have a lot of products or haven't sorted in years, give yourself two. The monthly check-ins after that only take about ten minutes.
Do I need to buy a vanity organizer?
No. Mugs, jars, plates, and box lids do the job just fine. If you want to buy something later, wait a couple of weeks so you know what you really need.
How do I know if a product is too old?
Look for the open-jar symbol on the packaging, which shows how many months it's meant to last once opened. If it smells, looks, or feels off, that's another sign. When in doubt, check the brand's page or ask a pharmacist.
Where should I keep products I don't use daily?
Somewhere out of the way but still easy to find, like a drawer, a basket under the sink, or a labeled box on a shelf. Just check each product's storage notes, since some don't do well with heat or moisture.
Your Next Step
Pick one drawer or one corner of your counter and start there tonight. You don't have to do the whole thing at once. If you'd like help setting up a simple daily routine to go with your new space, sign up for the free AM-PM Routine Chart for Skincare Beginners. Then take a look at the Product Inventory and Expiry Tracker and the Skincare Studio Wall Poster Print Pack below this post, in case either one fits the way you like to keep things.
Printables and tools that can help
Product Inventory and Expiry Tracker
A printable tracker for skincare, makeup and hair products: date opened, replace-by date and...
See detailsSkincare Studio Wall Poster Print Pack
Five printable posters for a vanity, bathroom or dressing area, as PNG and PDF with editable SVG...
See details