How to Plan Nail Polish and Designs by Season

Planning your nail designs by season is much easier when you know what you already own. A quick look at your nail polish storage shows which colors you can use before you buy anything new. This guide walks you through picking the next season, collecting color ideas, checking your supplies and logging each manicure.
If you stand in front of your polish drawer every few weeks with no idea what to do, a messy jumble of bottles is often part of the problem. I'd scroll Pinterest for twenty minutes, save a dozen pictures, then paint my nails plain red anyway. Sound familiar?
What finally fixed it was a simple sheet of nail design ideas by season. One page per season, with colors I like, a couple of designs I can actually pull off, and notes on what worked last time. It sounds almost too basic. But it keeps all your inspiration in one place, and it means you sit down to paint with a plan instead of a blank stare.
Here's how I set up my nail design planner, step by step.
Short on time? Our top picks: Notion, Pinterest, Apple Notes and Essie Gel Couture or classic polish. See all picks
What you need
- A notebook, printed planner sheets, or a notes app on your phone, such as Apple Notes or Notion
- Your current nail polishes (or a photo of them lined up)
- A pen and a few colored pencils or markers, if you like sketching
- Basic tools you may already own: base coat, top coat, a dotting tool or bobby pin, and a thin brush or striping tape
- About 30 minutes for your first planning session
You don't need fancy gear. A cheap spiral notebook works just fine. You can start with the back pages of an old school notebook, and switch to a proper planner later if you keep losing pages.
Step 1: Pick the next season for your nail ideas
Don't try to plan the whole year at once. A common mistake is trying to plan too much at once, which can leave you burned out by page two. Instead, start with the season that's about to begin. If it's late August, plan fall. If the snow is starting to melt, plan spring.
Write the season name at the top of a fresh page. Under it, jot down what that season actually looks like where you live. Not what Instagram says fall looks like. Your fall. Maybe it's rainy and gray, or maybe it's still warm and sunny until November.
Also think about what's on your calendar. A wedding, a beach trip, school starting, a holiday party. These are the moments when you'll want nails you feel good about.
Tip: Leave a little blank space under each event. Later you can match a specific design to it, so you're not scrambling the night before.
Step 2: Collect color ideas you actually like
This is the fun part. Pick three to five small color palettes for the season. A palette is just two to four colors that look nice together.
Here are some starting points, though you should change them to fit your own taste:
- Spring: soft pink, lilac, mint, butter yellow
- Summer: coral, bright turquoise, sunny orange, crisp white
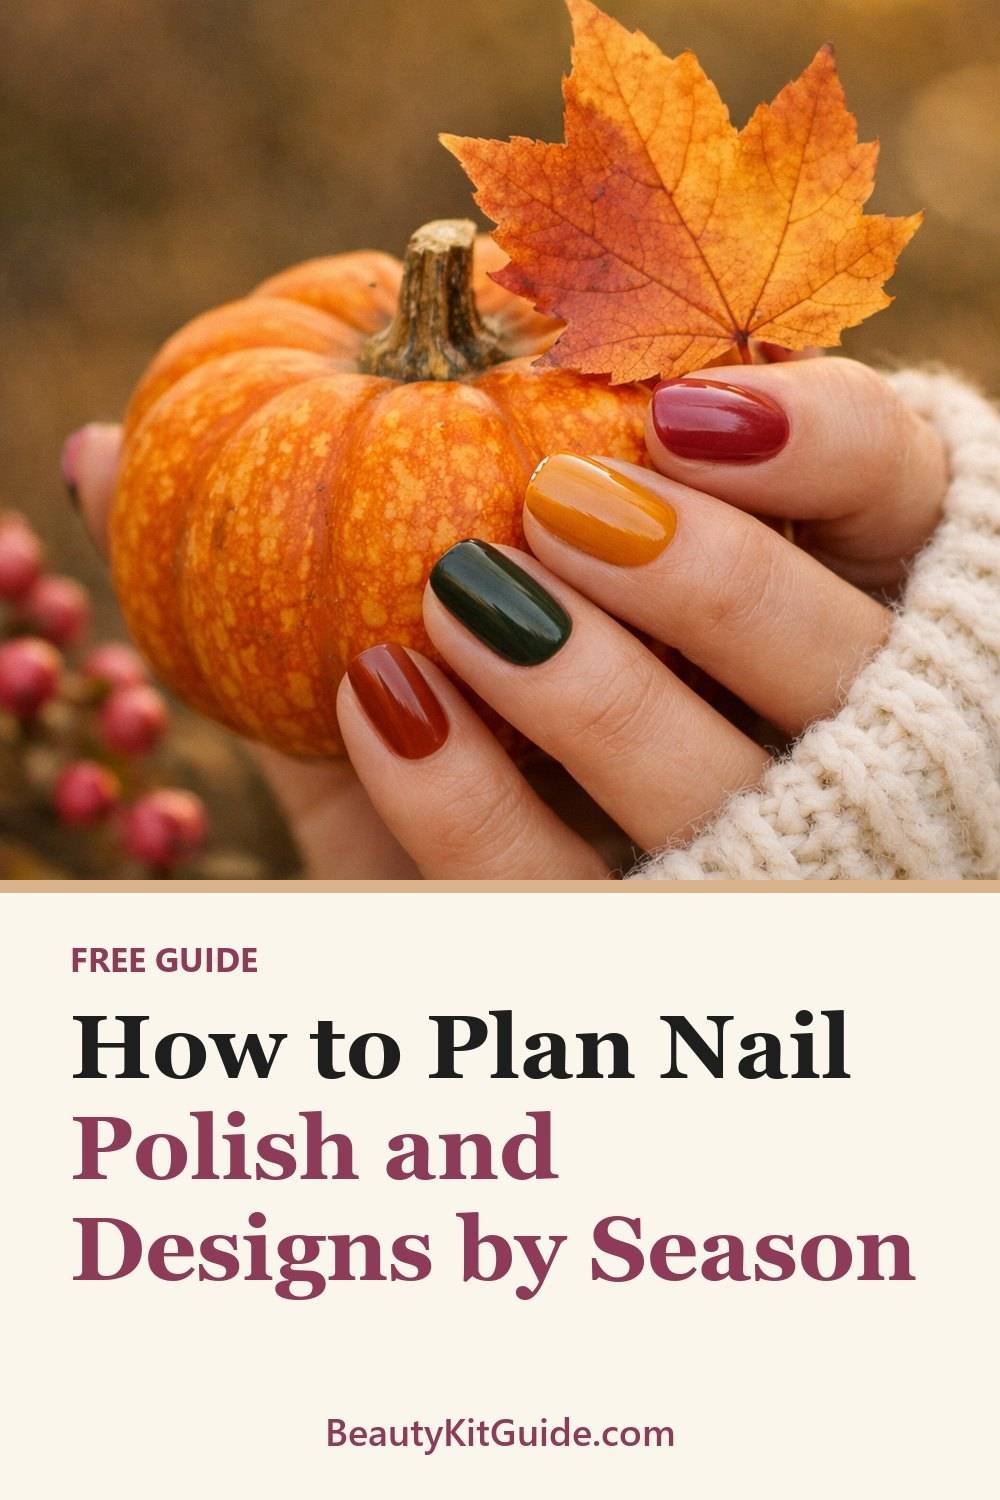
- Fall: deep burgundy, rust, olive green, warm brown
- Winter: navy, silver, forest green, icy blue, classic red
Look through what you already own first. You'd be surprised how many "new" palettes are hiding in your drawer. A mustard yellow bought on a whim and never used can turn out to be a favorite fall color.
If you sketch, color in little squares next to each palette. If not, write the shade names or snap a photo of the bottles side by side.
Tip: Hold the bottles up next to your skin in daylight before you commit. Some shades look lovely in the bottle and odd on the hand. That's just how it goes, and it's better to find out now.
Step 3: Choose simple nail ideas by season for beginners
Honestly, this is where most people get stuck. They save super detailed nail art and then feel defeated when theirs doesn't match. It's a common mistake. Tiny hand-painted flowers on my right hand looked like smudged bugs.
So start easy. These are the nail ideas I'd suggest for beginners:
- Dots: Use a dotting tool or the round end of a bobby pin. A row of dots near the cuticle looks neat and takes minutes.
- Lines: Striping tape or a thin brush gives you clean stripes. One diagonal line per nail is plenty.
- Accent nail: Paint four nails one color and the ring finger a different color or with glitter. Probably the easiest "designed" look there is.
- Half moons or tips: A simple French tip in a seasonal color, like rust for fall or mint for spring.
Pick two or three designs per season and pair each with a palette from Step 2. For example: "Fall, burgundy base with gold dots on the accent nail." Write it down that plainly. Future you will thank you.
Tip: Practice a new design on a sheet of paper or an old plastic card before trying it on your nails. It takes the pressure off.
If you like having a ready-made layout for this, the Nail Design Ideas Planner and Manicure Log below this post has spaces for palettes, sketches and notes. A plain notebook works too, though. Use whatever you'll actually open.
Step 4: Check your nail polish storage and supplies before you paint
Nothing kills the mood faster than getting halfway through a manicure and realizing your top coat has turned to goo. Ask me how I know.
Go through your planned designs and make a simple checklist with two short lists on the page:
- What I have: every color and tool you need that's already in good shape.
- What I need: anything missing, dried out, or almost empty.
Open each bottle and give it a quick check. If a polish is thick and stringy, it may be past its best. Some brands sell a thinner made for their polish, so check the label or the seller's page before adding anything to an old bottle.
Keep your "need" list short, and give your bottles a tidy home so nail polish storage doesn't hide what you own. You really don't need six shades of nude. Sales are tempting, and many of those bottles end up sitting unused.
Tip: Take your "need" list with you when you shop, or keep it on your phone. It stops you from buying a color you already own (which I've done twice with the same coral).
By the way, if you're also building a simple skincare habit, you can grab our free AM-PM Routine Chart for Skincare Beginners by joining the email list.
Step 5: Log each manicure after you do it
This step feels skippable. It's not. The log is what turns a bunch of nice ideas into a system you can reuse.
After each manicure, write a quick entry. Keep it short so you'll keep doing it:
- The date
- Colors and products used (base, color, top coat)
- The design
- How long it lasted before chipping
- One honest note, like "loved it" or "never again, too streaky"
Over a few months, patterns pop up. You might notice one top coat keeps your color going longer, or that light shades show chips faster for you. That's real info about your own nails, which beats any general advice.
When next year's version of that season comes around, flip back to your log. You'll already know your favorites.
Tip: Snap a photo of your nails on day one and again when they start to chip. Pictures are easier to compare than memory.
Step 6: Care for your nails between designs
Planning pretty designs doesn't help much if your nails are peeling. So give them a little care between manicures.
Always follow the maker's directions on every product you use, from removers to cuticle oils. They're written for a reason. Some removers are harsher than others, so read the label and use them in a room with fresh air.
A few habits that have helped me:
- Take a day or two off between manicures when you can.
- Wear gloves when washing dishes or cleaning. Hot water and soap are hard on polish and nails.
- Keep your hands moisturized, especially in winter when the air is dry.
- File in one direction instead of sawing back and forth.
If you notice anything unusual with your nails, like color changes, pain, or swelling around the skin, stop using new products and ask a doctor or pharmacist. Nail art is supposed to be fun, not something you push through.
Tip: Add a small "care" box to each season's page. Winter might say "more hand cream," while summer might say "reapply top coat after swimming."
Troubleshooting
My designs look messy
Go simpler for a while. One accent nail with a few dots looks polished and is hard to mess up. Clean up edges with a small brush dipped in remover, and let each layer dry fully before adding details.
I plan but never actually paint
This happens a lot. Try picking one set day, like Sunday evening, and keeping your supplies in one box so setup takes a minute. Lowering the bar helps too. A plain color counts.
My manicures chip fast
Check your log to see what's different between your long and short manicures. Thin coats usually dry better than thick ones, and capping the tip with top coat can help. Products vary, so follow each one's directions.
I get bored of my season's colors
Swap one color in a palette, not the whole thing. Or try the same palette with a new design. Sometimes the fix is just moving the accent from your ring finger to your thumb.
Our top picks for planning and painting seasonal nails
You can plan nail designs with very little, but a few well-known tools make the process smoother. Here are some options that fit the steps above.
Notion
Suits people who like a digital planner with pages for each season, photos and checklists. Check that the free version covers what you need before building a big setup.
A good place to gather design and color ideas into one board per season. Keep each board small, or it turns back into the endless scroll.
Apple Notes
Works well if you already use an iPhone and want a quick log with photos of each manicure. It only runs on Apple devices, so check that before relying on it.
Essie Gel Couture or classic polish
A widely available polish brand with a large range of seasonal shades, handy for building palettes. Swatch the color on your skin and read the label before buying.
OPI Infinite Shine or Nail Lacquer
Suits anyone who wants a broad color range and the option of a matching base and top coat. Check which system you are buying, since some products are meant to be used together.
Sally Hansen Insta-Dri
A budget-friendly, easy-to-find line for beginners who want simple, quick manicures. Look at the finish and directions on the bottle, since formulas vary between lines.
Beauty Bay or Amazon dotting tool sets
Dotting tools and striping tape are sold in sets by many sellers, and they cover the dots and lines from Step 3. Check what is included and read reviews on the seller's page.
Check current plans and prices on each brand's own site before you decide.
FAQ
How many designs should I plan for each season?
Two or three is plenty to start. Seasons last a few months, and most people repeat favorites anyway. You can always add more once you know what you enjoy.
Do I need new polish for nail ideas by season?
Not at all. Many colors work across seasons, like red in both summer and winter. Start with what you own and only buy what fills a real gap on your list.
Is a planner better than a phone app?
It depends on you. Some people love writing and sketching on paper, while others always have their phone nearby. Choose the one you'll actually keep using.
Can I use this method for gel or press-on nails?
Yes, the planning steps work the same way. Just log the type you used and follow the maker's instructions for applying and removing. If you're unsure about removal, a nail tech can help.
That's really all there is to it. Start with the season coming up, keep the designs simple, and write down what works. If you'd like more easy routines, join the email list to get the free AM-PM Routine Chart for Skincare Beginners. Then take a look at the Nail Design Ideas Planner and Manicure Log and the Makeup Look Planner and Product Checklist below this post, and see if either fits how you like to plan.
Printables and tools that can help
Nail Design Ideas Planner and Manicure Log
Printable seasonal idea sheets, a manicure log and a nail-care and supply...
See detailsMakeup Look Planner and Product Checklist
A printable starter checklist, look planner and brush-cleaning...
See details