Beginner Makeup Kit Checklist: What You Need and What to Skip
Published 2026-10-15

Putting together a beginner makeup kit does not have to be confusing or expensive. This checklist covers the basics you actually need, the items that are optional, and the extras you can safely skip at first.
A small makeup starter kit is easier to use, quicker in the morning, and cheaper to build. Here's what I'd actually put in it, item by item, plus the stuff I'd happily leave on the shelf for now.
Short on time? Our top picks: Maybelline Instant Age Rewind Concealer, Maybelline Lash Sensational Mascara, Rare Beauty Soft Pinch Liquid Blush and Glossier Boy Brow. See all picks
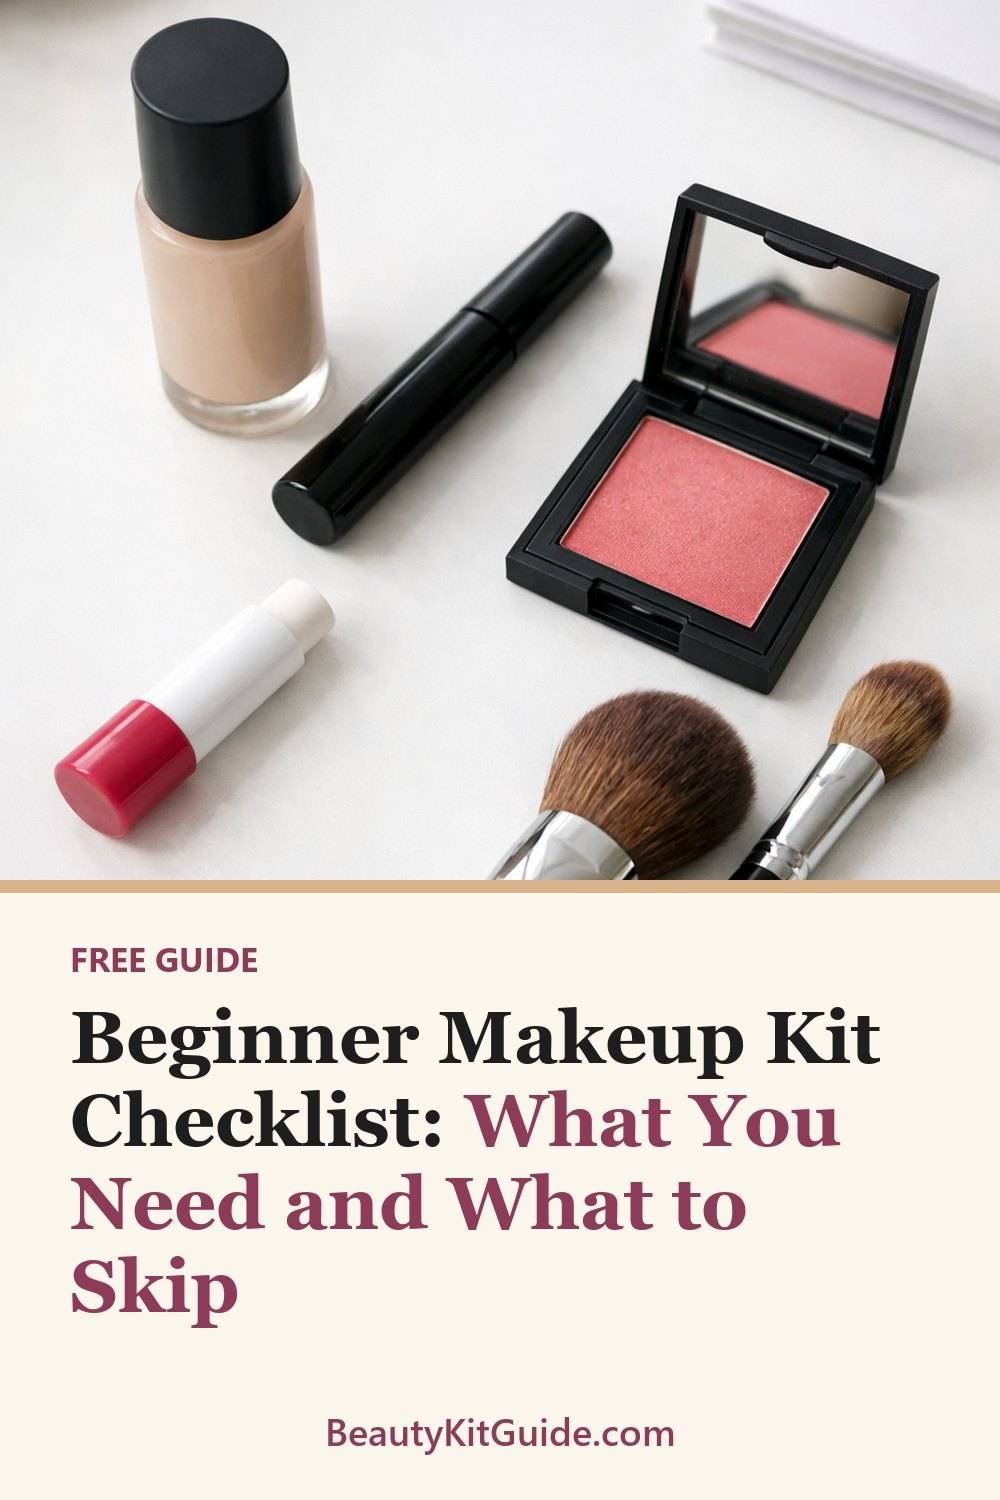
1. Something to Even Out Your Skin (If You Want Coverage)
This is your base. It could be a foundation, a tinted moisturizer, or a skin tint. If you like how your skin looks bare, you can skip this one completely. Plenty of people do.
The hard part is the shade. Store lighting is famously bad, and your wrist isn't the same color as your face. Swatch a couple of options along your jawline, then walk outside or to a window and look again. The one that seems to disappear is usually your match.
Tip: If you're between two shades, lean toward the lighter one. It's easier to warm up with a little blush or bronzer than to fix a base that's too dark.
2. Concealer for Small Spots
Honestly, if I could only keep one face product, it might be this. A bit of concealer under the eyes, around the nose, or on a blemish does a lot of the work people expect foundation to do.
You don't need a separate one for every problem. One creamy concealer close to your skin tone, such as Maybelline Instant Age Rewind Concealer, covers most everyday needs. Pat it on with a fingertip. The warmth of your finger helps it melt in.
Tip: Use less than you think. Start with a tiny dot, blend, and add more only if you still see the spot.
3. Powder, Only If You Like a Matte Finish
Powder is the first item on this list I'd call truly optional. It helps keep shine down and can make cream products last longer. If your skin runs dry, though, you may find it makes things look flat or settles into lines.
A loose or pressed translucent powder works for most people since it doesn't add color. Press it onto the areas that get shiny, like the forehead and around the nose, instead of sweeping it all over.
Tip: Try going a week without it first. If you never miss it, you've saved money and a step.
4. A Neutral Eyeshadow Palette or a Couple of Single Shades
It's easy to think you need a big palette with every color. Most people end up using only a few of the shades. Now I'd tell a beginner to pick a small neutral palette or just two single shades: one light, one medium-brown.
With those two, you can do a lot. The light one goes all over the lid. The darker one goes in the crease or smudged near the lash line. That's a real, finished eye look, and it takes about a minute.
Tip: Matte shades are more forgiving when you're learning. Shimmer is pretty, but it shows every uneven edge.
5. Mascara
This one's easy. Mascara makes your eyes look more awake with almost no skill needed. Wiggle the wand at the base of your lashes, then pull it up and out.
Don't overthink the formula. Try a regular one first. Waterproof versions can be harder to take off, so I keep those for days I know I'll be outside in the rain or at a wedding where I might cry.
Tip: Wipe the extra off the wand on the edge of the tube before you start. It cuts down on clumps a lot.
6. Something to Fill In Your Brows (If You Want It)
Brows frame your face, so a little filling in can change how polished you look. But if yours are already full and you like them, skip it. No rule says you have to.
A brow pencil is the simplest place to start. Use light, short strokes that look like hair, mostly in the sparse spots. A clear or tinted brow gel such as Glossier Boy Brow can hold everything in place if your hairs go every which way.
Tip: Pick a pencil a shade lighter than your hair. Brows that are too dark tend to look drawn on.
7. Blush in a Color That Suits You
Blush is my favorite underrated product. A soft pink, peach, or berry on the cheeks makes you look healthy and rested, even on a day when you're neither.
Cream blushes are easy to blend with your fingers, and they look natural on most skin. Powder blush works well too, especially over powder. To find your shade, think about the color your cheeks turn after a brisk walk. Go near that.
Tip: Smile, then tap blush onto the round part of your cheeks and blend up toward your temples.
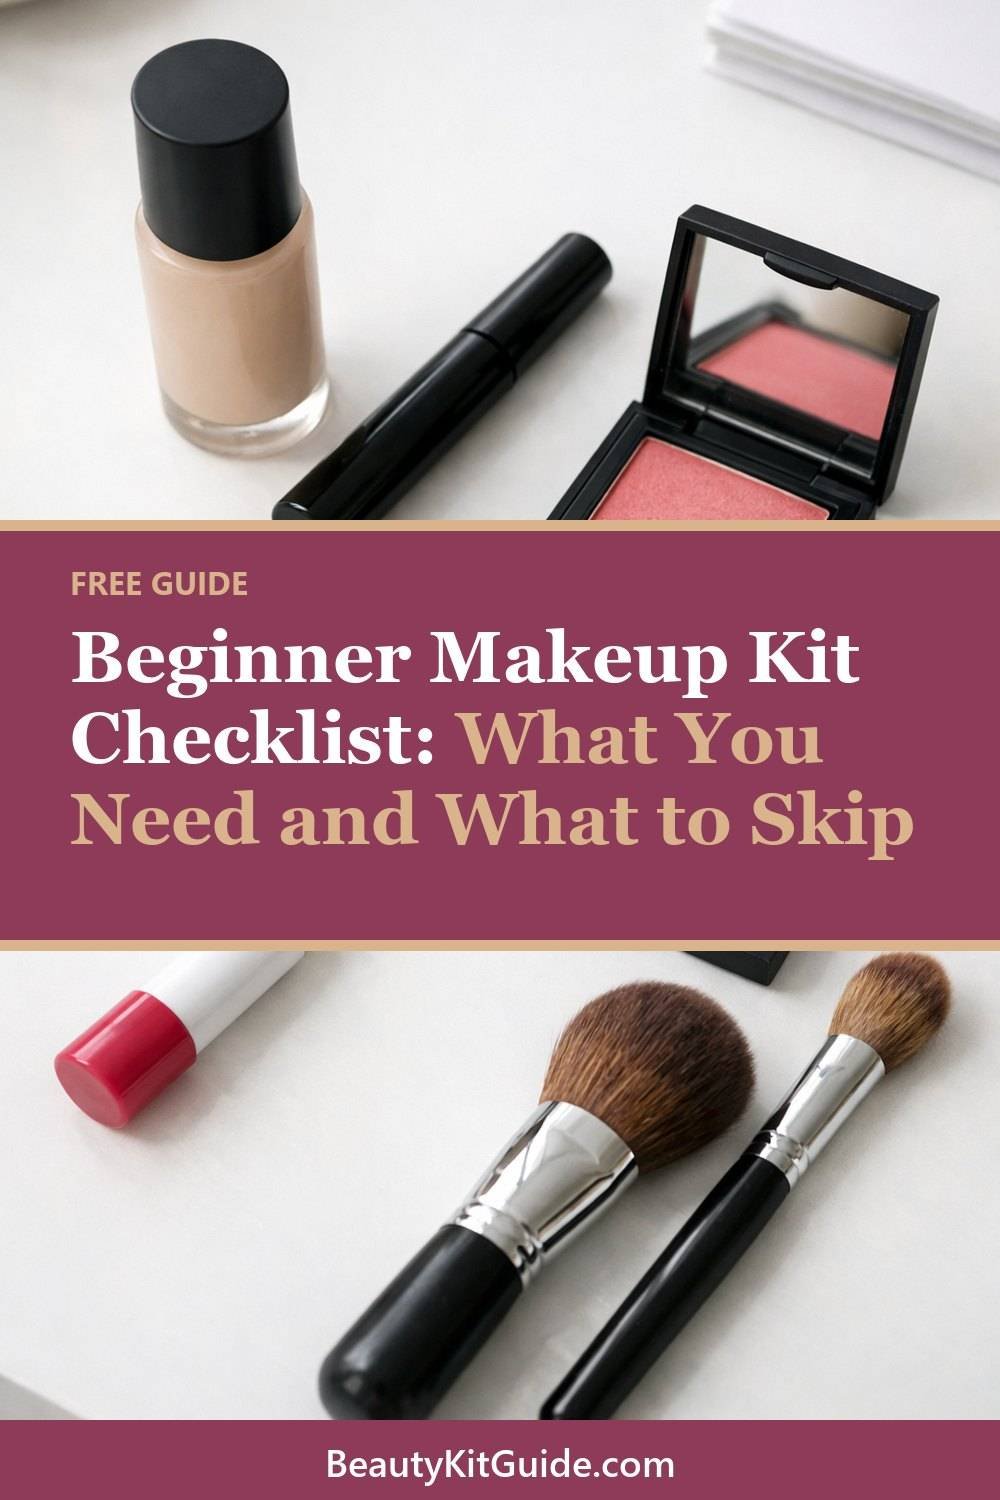
8. A Lip Color or Tinted Balm
You only need one to start. A tinted balm is the lowest effort option and it feels nice on dry lips. If you want a bit more color, a sheer lipstick in a "your lips but better" shade goes with almost everything.
You can skip long-wear liquid lipsticks at first. They can feel drying and they're tricky to apply neatly. Save bold reds for when you've got the basics down and want to play.
Tip: Your lip product can double as blush in a pinch. Dab a little on your cheeks and blend it out.
By the way, if you're also sorting out your skincare, our free AM-PM Routine Chart for Skincare Beginners lays out a simple morning and night order you can stick on your mirror.
9. A Few Basic Tools for Your Beginner Makeup Kit
You don't need a 20-piece brush set. Start with one tool for your face and one for your eyes. For the face, that could be a damp makeup sponge like Beautyblender or a fluffy brush. For the eyes, a small fluffy shadow brush works for most looks.
Your fingers count as tools, too. You can apply concealer, cream blush, and balm with yours nearly every day. Add more brushes later, only when you notice you keep wishing you had one for something specific.
Tip: Wet your sponge and squeeze out the water before using it. A dry sponge soaks up product and leaves a patchy finish.
10. A Small Mirror and Decent Light (Skip the Hunt for the Best Makeup Mirror)
This sounds boring, but it matters more than any product, and you don't need the fanciest option. Doing makeup in a dim bathroom is how you end up with a line at your jaw or way too much blush.
If you can, set up near a window during the day. A small mirror you can hold close helps with mascara and brows. Before you head out, do a quick check in natural light.
Tip: Glance at your face in your phone camera with the flash off. It's a quick honest check for uneven spots.
What to Skip at First: Professional Makeup Kit Extras
Here's where I'd save your money, and it's why a professional makeup kit can wait. Highlighters, contour kits, setting sprays, primers, and fancy specialty tools can all wait. They're fun, but they aren't the part that makes the biggest difference.
Eyeliner sits in this group too. It can look great, but a sharp wing takes real practice, and a shaky line is frustrating at 7 a.m. Try it on a weekend when nobody's rushing you. Once you know what you reach for daily, you'll have a much better idea of what's worth adding.
Keep Everything Clean and Easy to Store
Good makeup storage helps, because dirty brushes and sponges collect old product, oil, and bacteria. Wash them regularly with a gentle soap or a brush cleaner, then let them dry flat. You can do yours on Sunday nights while something's on TV.
Makeup doesn't last forever either. Look for the small open-jar symbol on the package, which shows how many months a product is good for after opening, and follow the instructions on the label. If something smells odd or changes texture, toss it. If you have a skin reaction or a sensitive-skin concern, check with a doctor or pharmacist.
A Simple Five-Minute Everyday Look
Once you've got the basics, this is the routine I'd use most days:
- Apply base only where you want it.
- Pat concealer on any spots or under-eye shadows.
- Tap on a little blush.
- Add a coat of mascara.
- Finish with lip color or tinted balm.
Five steps, about five minutes once you've done it a few times. The first week will feel slower. That's normal.
Our top picks for a starter kit
If you'd like a few real products to start from, these are well-known options that suit a small, simple kit. Treat them as starting points, not rules.
Maybelline Instant Age Rewind Concealer
A popular drugstore concealer that suits beginners who want one easy product for under-eyes and spots. Check the shade range in daylight, since undertones vary a lot.
Maybelline Lash Sensational Mascara
A widely available mascara for people who want a simple, regular formula to start with. Check whether you want the regular or waterproof version before you buy.
Rare Beauty Soft Pinch Liquid Blush
A liquid blush that suits anyone who likes blending with fingers for a natural look. Check the shade carefully, as a little goes a long way and some colors are quite bold.
Glossier Boy Brow
A brow gel for people whose brows need a little shaping without a drawn-on look. Check the shade against your own hair color and whether you prefer a gel to a pencil.
Fenty Beauty Pro Filt'r Soft Matte Foundation
A foundation known for a broad shade range, which suits people who struggle to find a match. Check the finish against your skin type, especially if you run dry.
Beautyblender
A makeup sponge that suits anyone who wants a smooth, blended base or concealer. Check the care instructions, because sponges need regular washing and replacing.
Real Techniques
A brush brand with beginner-friendly sets and single brushes, handy when you want just one face brush and one eye brush. Check that you are buying only the tools you will use rather than a large set.
Burt's Bees Tinted Lip Balm
A tinted balm for people who want easy lip color that feels comfortable. Check the shade and the ingredient list if you have sensitive skin.
Check current plans and prices on each brand's own site before you buy.
FAQ
Do I really need foundation?
No. Lots of people use only concealer where they need it and leave the rest of their skin bare. Try that first and see if you even miss foundation.
How much should I spend on a makeup starter kit?
That's up to you and your budget. Many drugstore products work well for beginners, and starting small means you won't waste much if something isn't right for you.
What's the one product to buy first?
If I had to pick, I'd say concealer or mascara. Both make a clear difference fast and are easy to learn.
How often should I wash my brushes?
A good habit is about once a week for brushes you use daily, and more often for sponges. Check the care instructions that came with your tools.
Your Next Step
Pick two or three items from this makeup basics checklist, use them for a couple of weeks, and only then decide what to add. And if you want your skin prepped well before any of this, grab the free AM-PM Routine Chart for Skincare Beginners in the sign-up box. It's a simple place to start, and it pairs nicely with a small, sensible makeup bag.
Some links on this site may earn us a commission. Read our disclosure.