Nail Design Ideas by Season: Save, Plan and Track Your Looks
Published 2026-10-15

Seasonal nail design ideas are easier to repeat when your colors are organized. This guide shows how to set up simple nail polish storage and a manicure log, then save a color palette, plan one design and track your looks.
A tiny manicure log can help. Nothing fancy. Just a notebook page for each look, with the date, the colors, and a few honest notes. After one year I had a little record of what I liked in each season and what I'd never try again.
This post walks you through that same method to plan and track your looks. You'll get nail design ideas by season, from spring through winter, that you can save for later. You'll also learn how to plan a look, paint it without rushing, and track it so your favorites are easy to repeat.
Short on time? Our top picks: OPI Natural Nail Base Coat, Essie Gel Couture Top Coat, Sally Hansen Insta-Dri Top Coat and CND SolarOil. See all picks
What you need
You probably have most of this already. You can skip buying anything new until you've done a few logged manicures and know what you actually use.
- Nail polish remover and cotton pads
- A nail file (a gentle one, not a rough metal file)
- A base coat
- Two or three polish colors for the season
- A top coat (glossy or matte, your choice, such as Sally Hansen Insta-Dri Top Coat)
- A small detail tool, like a dotting tool, a toothpick or a thin brush
- Hand cream or cuticle oil (for example CND SolarOil)
- A notebook, a notes app like Notion, or a printed page for your log
- Your phone camera for quick photos
That's it. Nail art kits with forty brushes look fun, but honestly, a toothpick and a bobby pin can do most simple designs.
Step 1: Set up your manicure log and nail polish storage
It may feel backwards to start with the log before you've painted anything. But if you set it up now, you'll actually fill it in. If you wait until after, your nails will be wet and you won't want to touch a pen.
Make one entry per manicure, and keep the bottles you used together in one spot. Here's what I write down:
- Date you painted them
- Season or occasion (spring, a wedding, a work week)
- Colors, written exactly as they appear on the bottle label
- Products used for base and top coat
- Design in a few words, like "French tips, white, thin"
- How long it lasted before chipping
- What I'd change next time
- Rating out of 5
If you like paper, a simple notebook works. If you're more of a phone person, a notes app or a basic spreadsheet is fine too. Keep a paper log and snap a photo for each manicure, so you can match the picture to the page.
Tip: Leave the "how long it lasted" line blank on day one. Come back to it when you take the polish off. That single line taught me more than anything else about which top coats work for my hands.
Step 2: Pick your season and save a small color palette
This is the fun part. Choose two or three colors that go together. Fewer is better. When I pick five colors, I end up with a messy look and a sink full of cotton pads.
Spring ideas
Spring is all about soft and fresh. Think pale pink, lilac, mint, butter yellow or baby blue. A clean French tip in white or a pastel shade is classic for a reason. If you want a little art, try light florals: five tiny dots in a circle with one dot in the middle makes a simple flower. Put it on one accent nail and leave the rest plain.
Summer ideas
Summer is a good time to get brave. Bright coral, hot pink, turquoise, orange and lime all look great with a tan or just sunny weather. Ombre is popular too, where one color fades into another. If bright all over feels like too much, go minimal: a nude base with a single thin line or a few small dots near the cuticle. It looks tidy and takes five minutes.
Autumn ideas
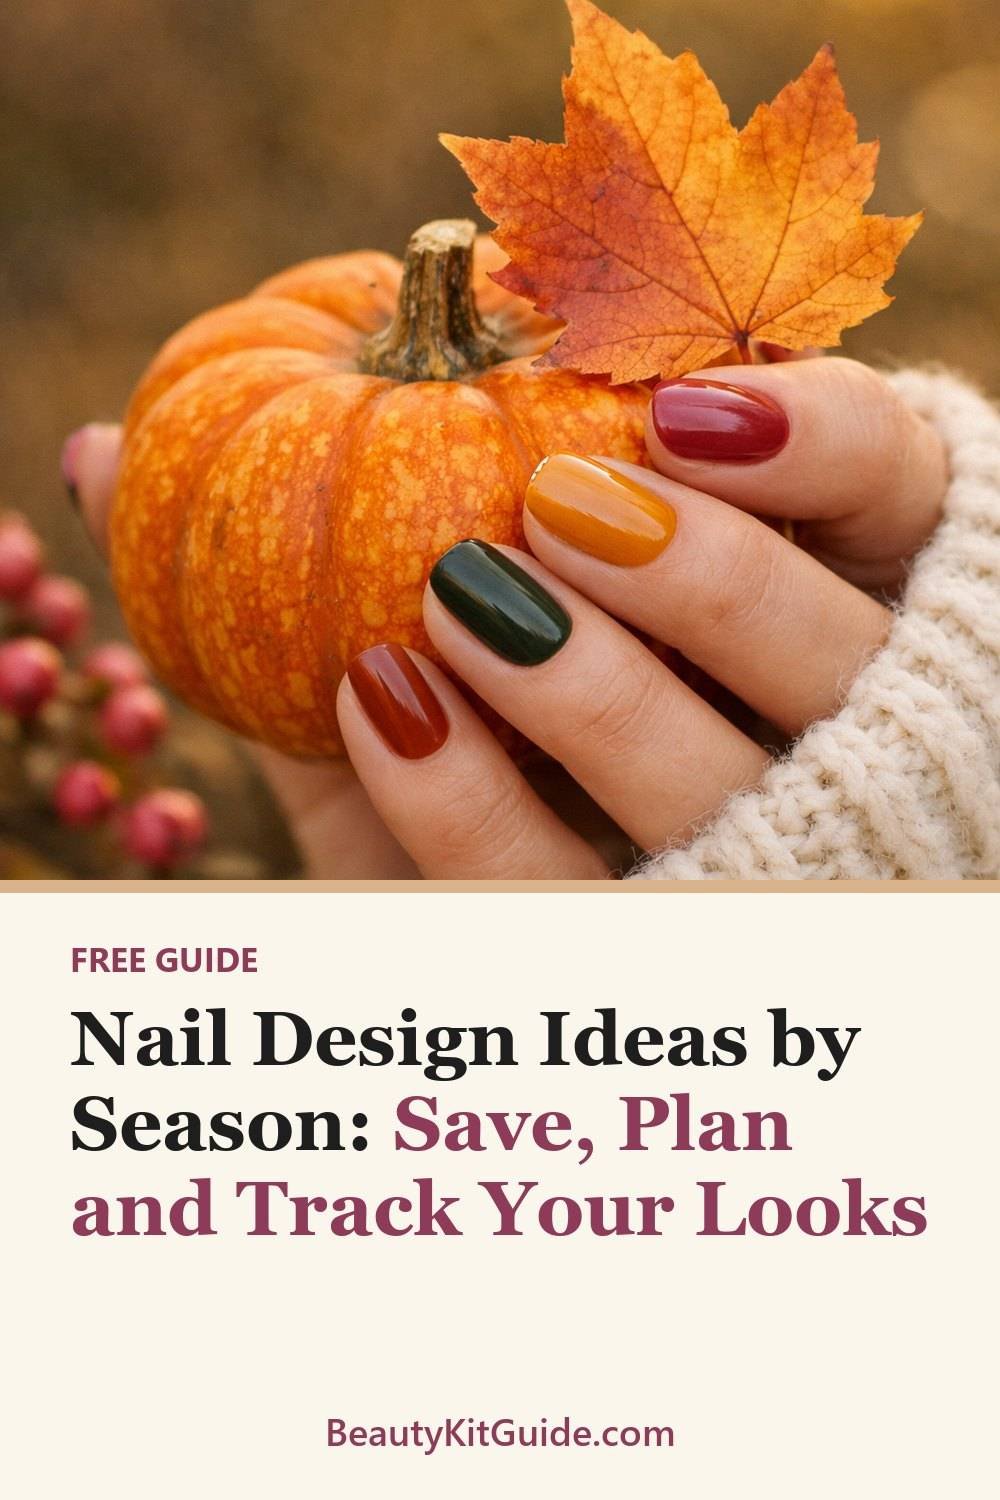
This is my favorite season for nails. Rust, mustard, deep olive or forest green, burgundy and warm brown all feel cozy. Try mixing finishes: matte on most nails and glossy on one, or a matte base with a glossy tip. It sounds small, but it looks really pulled together in person.
Winter ideas
Winter calls for deep reds, navy, plum, black and silver. A glitter accent nail is an easy way to feel festive without much effort. For something a little more detailed, snowflake-style shapes can be done with a thin brush: one small cross, then an X over it, then tiny dots at the ends. Don't worry if they're not perfect. Wonky snowflakes still look like snowflakes.
Tip: Before you paint, look back at your log for the same season last year. You might find a look you loved and completely forgot about. That's half the reason I keep one.
By the way, if you like having a simple routine on paper, our free AM-PM Routine Chart for Skincare Beginners is a handy match for your nail log, and you can grab it in the sign-up box on this page.
Step 3: Plan one design and keep it simple
Here's an honest opinion: busy designs on every nail are overrated for home manicures. They take ages, they smudge, and they often look better in photos than in real life. Doing one nice accent nail and keeping the rest clean is a safe approach.
Pick one idea from your season list and save it to your plan. Then decide where it goes:
- All nails the same (easiest)
- One accent nail on each hand, usually the ring finger
- A detail only on the tips
Write your plan in the log before you start. Something like "Mint base, white dot flower on ring fingers." It keeps you from changing your mind halfway and mixing three ideas into one.
Tip: If you're new to nail art, practice the design on a piece of paper or a plastic lid first. This is worth doing with new shapes too. It saves a lot of remover.
Step 4: Prep your nails
Good prep makes a bigger difference than expensive polish. Skipping this step is a common reason manicures chip within two days.
- Remove any old polish completely. Check the edges, where bits like to hide.
- Wash your hands and dry them well. Polish doesn't stick nicely to damp or oily nails.
- File your nails in one direction, gently. Sawing back and forth can leave rough edges.
- Push back cuticles softly if you like, but don't cut or pick at them. If anything looks sore or unusual, leave it alone and ask a qualified professional.
- Wipe each nail with a little remover on a cotton pad to clear off any hand cream.
Tip: Do your prep before you get comfortable on the couch. Once I'm settled with a show on, I get lazy and skip the last wipe. Then I wonder why the polish peels.

Step 5: Paint in thin coats and take your time
This is where most home manicures go wrong. Mine included. The urge to put on one thick, shiny coat is real. Don't. Thick coats stay soft for ages and dent the second you reach for your keys.
Here's the order I follow:
- Base coat. One thin layer. Let it dry for a few minutes.
- First color coat. Thin. It may look streaky. That's normal.
- Second color coat. Thin again. This is usually when it looks even.
- Design. Add your dots, lines or tips once the color feels dry to a light touch.
- Top coat. Brush it over the design and across the tip edge of each nail.
For each coat, try three strokes: one down the middle, then one on each side. Wipe most of the polish off the brush on the bottle neck before you start. Too much on the brush means flooding your cuticles.
Drying times depend on the product, so check the bottle or the brand's page for their guidance. Wait a good while between coats, then try not to do anything with your hands for a bit afterward. It's a great excuse to make someone else do the dishes.
Tip: Keep a small brush or a cotton swab dipped in remover nearby. Clean up the edges right after the last color coat, before it fully sets. It makes even a simple manicure look neat.
Step 6: Track your looks by logging and photographing them
Once your nails are dry, take a quick photo in natural light. Window light is best. Then fill in your log entry with everything except the "how long it lasted" line.
A few days later, add a note if anything changed. Did the tips wear down first? Did the matte top coat look dull after a while? Was the color nicer in person than in the bottle?
When you remove the polish, finish the entry. Write how many days it lasted and give it a rating. Be honest. Nobody else is reading this.
After a few months, look through your entries. You'll start to see patterns. Maybe you always rate autumn greens highly, or maybe glitter always chips on you in two days. You may find you don't actually enjoy a color, like bright yellow, even though you keep buying it. A log keeps you honest about that.
Tip: Star your top looks for each season. Next year, you can just flip to the stars and repeat a favorite on a busy week with no planning at all.
Look after your hands between manicures
Your nails will look better in every design if your hands and cuticles aren't dry. Keep hand cream next to the sink and your polish in a small box nearby, then rub a little cuticle oil in before bed. Gloves for washing up help a lot in winter too.
Some people like to take a few days off between manicures. That's up to you. If you notice anything that worries you, like changes in color, pain, swelling or nails that keep splitting, please see a doctor or other qualified professional rather than guessing.
Troubleshooting
My polish bubbles
This often happens with thick coats or when you shake the bottle hard. Try rolling the bottle gently between your hands instead, and keep each layer thin.
It chips in a day or two
Check your prep first. Oil from hand cream is a common cause. Also make sure you're brushing top coat over the very tip edge of the nail. Write down what you changed in your log so you can see if it helped.
My design smudged
The color underneath probably wasn't dry enough. Wait longer before adding details, and use a light touch with your top coat. Float it over the design rather than pressing down.
The color looks different than the bottle
That happens a lot. Polish can change with the number of coats and the light. This is exactly why the photo in your log is so useful. You'll know next time.
I keep forgetting to fill in the log
Make it smaller. Even just the date, color name and a rating out of 5 is worth keeping. A short log you actually use beats a perfect one you abandon.
Our top picks for nail looks and tracking
You don't need much to start a seasonal nail log, but a few well-known tools can make planning and painting easier. Here are some options that fit the method in this post.
OPI Natural Nail Base Coat
Suits anyone who wants a simple, widely available base coat to start every manicure. Check the bottle for drying guidance and whether it suits your nail type.
Essie Gel Couture Top Coat
A good fit if you like a glossy finish over seasonal colors and designs. Check the brand's instructions, since some top coats work best when paired with a specific base or color line.
Sally Hansen Insta-Dri Top Coat
Suits people who get impatient while waiting for polish to dry. Check the label for how it is meant to be applied, and note how long your manicure lasts in your log.
CND SolarOil
A well-known cuticle oil for people who want a simple habit between manicures. Check the ingredient list if you have sensitive skin or allergies.
Revlon Nail Art Dotting Tools
Handy for the dot flowers and small details mentioned in the spring and winter ideas. Check what sizes are in the pack, and remember a toothpick works well for free.
Notion
A flexible notes app for people who prefer a digital manicure log with photos beside each entry. Check how its free plan works and whether it syncs on your devices.
Useful for saving seasonal nail design ideas into boards by season. Check that you save your favorites to your own log too, so you remember what you actually tried.
Check current plans and prices on each brand's own site before you buy or sign up.
FAQ
How often should I change my nail design?
There's no rule. Many people repaint every week or so, and some only when the polish chips. Go with what fits your schedule, and let your log show you how long your manicures tend to last.
Do I need special tools for seasonal nail art?
Not really. A toothpick, a bobby pin or a thin brush can make dots, lines and simple flowers. It's best to wait to buy a kit until you know which designs you actually enjoy.
What's the easiest way to try a new trend without much effort?
Put it on one accent nail only. You'll get the look and the fun of trying something new, and if you don't like it, there's only one nail to fix.
Should I keep my log on paper or on my phone?
Whichever you'll open more often. Paper feels nice and is easy to flip through, while a phone keeps your photos and notes in one place. You can use both, but one is plenty.
Your next step
Pick the season you're in right now, choose two colors, and paint one simple look this week. Then write it down, even if it's just three lines. If you enjoy keeping routines on paper, grab the free AM-PM Routine Chart for Skincare Beginners from the sign-up box, and pair it with your nail log for a simple self-care habit. After that, have a look at whatever's below this post for more ideas to try next season.
Some links on this site may earn us a commission. Read our disclosure.